
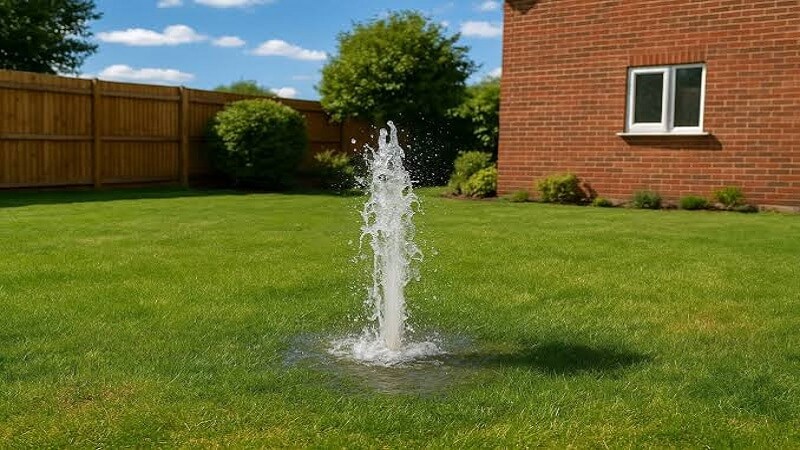
DIY methods usually fail to find underfloor leaks because they rely on guesswork rather than proper detection equipment. Water travels sideways through screed and soil long before it surfaces, so the damp patch you see rarely sits above the actual leak. Without a moisture meter, thermal camera, or acoustic listening device, most homeowners end up chasing a symptom rather than the source, and often lift the wrong section of floor entirely.
This gap between where water shows up and where it’s actually leaking is the single biggest reason DIY searches drag on for weeks. A leak under a bathroom, for example, can travel three or four metres before dampness reaches a spot where it’s visible in an adjoining room, and by that point the trail on the surface tells you almost nothing about the source.
Concrete floors make this worse. Pipes buried in slab construction are usually set in screed with no access point, so anyone trying to trace a leak under concrete floor is working blind unless they bring in equipment built for the job. Tapping on tiles or watching for a damp patch might have worked with suspended timber floors, but concrete hides everything until the damage is already extensive.
DIY methods fail because they can’t see or hear what’s happening inside a slab. Water spreads sideways before surfacing, concrete blocks visual clues, and without a moisture meter, thermal imaging, or acoustic detection, homeowners end up digging in the wrong spot, often more than once.
Why Water Doesn’t Leak Straight Down
People assume a leak shows up directly beneath the wet patch, but that’s rarely how it works. Water follows the path of least resistance through soil, screed, and gaps in the slab, which means it can travel well away from the actual pipe before it becomes visible. A leak near a kitchen sink might show damp three rooms away, and chasing that damp patch alone usually leads to a hole in the wrong place.
The Screed Layer Problem
Most concrete floors have a screed layer sitting on top of the structural slab, and pipework often runs through this layer rather than the slab itself. Screed absorbs and redistributes moisture unevenly, so a leak can sit undetected for months while slowly spreading sideways rather than pooling in one obvious spot.
Common DIY Methods and Why They Fall Short
Homeowners typically try a handful of approaches before calling a professional, and each one has a specific weakness.
- Listening for dripping or running water. This only works if the leak is loud enough and close enough to the surface, and background noise from appliances or traffic drowns it out completely in most homes.
- Checking the water meter. Turning off every tap and watching the meter confirms a leak exists somewhere on the property, but it gives zero information about location. It’s a useful first check, not a detection method.
- Lifting a section of flooring based on a guess. This is the most common and most expensive mistake. Without narrowing down a probable area first, a homeowner might open up three or four sections of floor before finding the actual pipe, turning a single repair into a full floor replacement.
- Using a cheap phone thermal app. These apps read surface temperature at a basic level but lack the sensitivity and calibration of professional equipment, so they often miss leaks entirely or flag false positives from underfloor heating or direct sunlight.
How Professionals Actually Pinpoint a Slab Leak
Slab leak detection uses a combination of tools rather than relying on any single method. Professionals typically start with acoustic listening devices that pick up the sound of water escaping under pressure, then narrow the search further with thermal imaging or tracer gas depending on the pipe material and depth.
Step by Step Process
- Isolate the water system and check the meter to confirm an active leak
- Use acoustic detection to listen for pressurised water through the slab
- Cross reference with thermal imaging to spot temperature anomalies on the surface
- Inject tracer gas into the pipe if the leak still can’t be pinpointed
- Mark the confirmed location and access the floor only at that exact point
This process typically narrows a leak down to within a few centimetres, compared to a DIY guess that might be out by several metres.
Signs You Have a Hidden Floor Leak
A concrete floor water leak often gives off warning signs long before any visible damage appears, and catching these early saves both money and mess.
- Warm patches on the floor with no underfloor heating installed
- A hissing or trickling sound when everything in the house is switched off
- Water bills rising without any change in usage
- Skirting boards lifting or discolouring near floor level
- A musty smell that doesn’t match any visible damp
Two or more of these together are a strong signal to get proper hidden floor leak detection done rather than waiting for a patch to appear.
Why Getting a Professional Involved Early Saves Money
Every DIY hole cut into a concrete floor costs money to patch, whether or not it finds the leak. Professionals with the right equipment typically confirm a leak location in under an hour, compared to days spent guessing, and that speed alone often covers the cost of the callout. Repairing a slab also isn’t a simple patch job, since cutting into structural concrete without knowing exactly where the pipe runs risks damaging other services or weakening the floor, which turns a plumbing repair into a much bigger structural job.
FAQ
1. Can you detect a water leak under a concrete floor without digging?
Yes, using acoustic listening equipment, thermal imaging, or tracer gas, a professional can usually pinpoint the leak location without any exploratory digging.
2. How do plumbers find a leak under a concrete slab?
They combine acoustic detection, which listens for the sound of pressurised water, with thermal imaging and sometimes tracer gas to narrow the exact location before any floor access is needed.
3. What are the signs of a slab leak in a house?
Warm patches on the floor, rising water bills, a hissing sound near the floor, and skirting boards lifting or discolouring are the most common early signs.
4. Why does my floor feel warm in one spot?
A warm patch usually means hot water is escaping from a heating or supply pipe nearby, and it’s one of the clearest early indicators of a leak under the floor.
5. How much does it cost to fix a leak under a concrete floor?
Costs vary depending on pipe depth and slab thickness, but locating the leak accurately first keeps repair costs down by avoiding unnecessary floor damage.
6. Is a leak under a concrete floor covered by home insurance?
Many policies cover the cost of tracing and accessing a leak, though coverage details vary, so it’s worth checking your specific policy wording before starting repairs.
Final Thought :
Trying to trace hidden pipework in a solid floor without the right tools almost always costs more in the long run, whether that’s through wasted time, unnecessary floor damage, or a leak that keeps spreading while you search in the wrong spot. Getting an accurate reading before any cutting starts is the difference between a small repair and a full floor job.
0800 Homefix carries out trace and access work using the same acoustic and thermal equipment professionals rely on, giving homeowners a confirmed leak location before any floor gets opened up. It’s a faster, cleaner route to a fix than working through it alone.